We are excited to be joining the Maker Movement, a re-imagining of the role of play and tinkering in traditional K-12 education. The staff of ATLAS Elementary has dedicated an entire classroom with the purpose of providing a space for young makers to explore the world of electronics and electrical engineering.
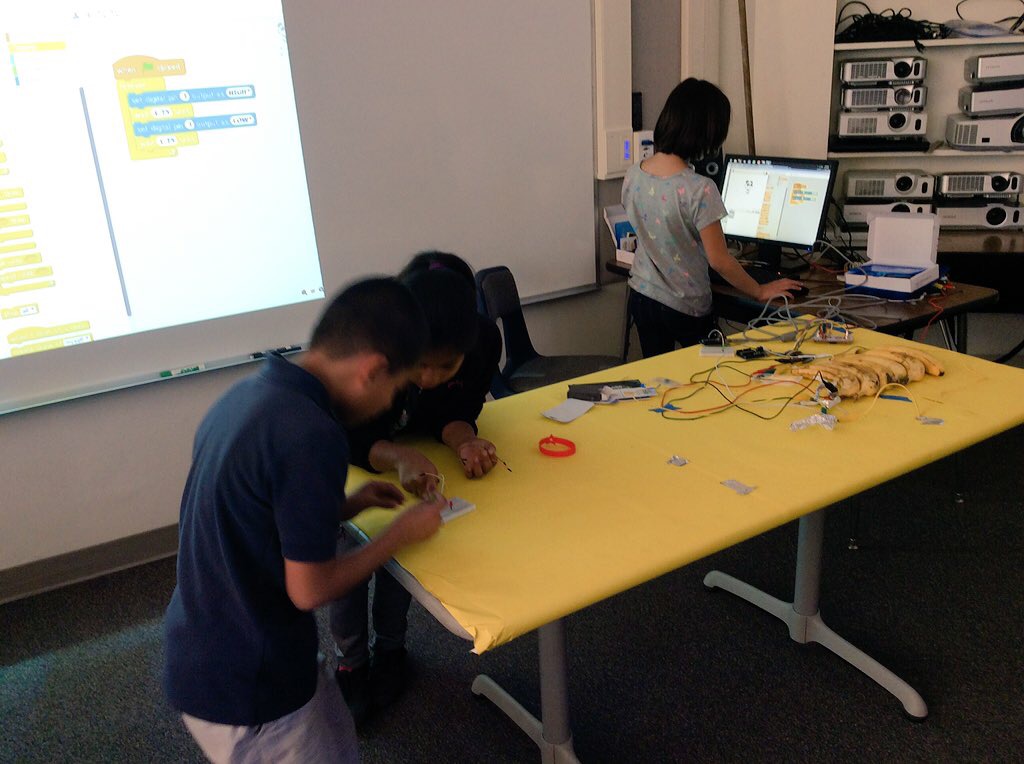
Students wiring an LED with an Arduino
The desired educational outcome of our Makerspace is to bring the “youthful magic of play” back into school
(Makerspace Playbook 3) by providing opportunities for students to grapple with real world,
open-ended challenges and questions that do not necessarily have answers. Dr. Stuart Brown has
spent a career studying play and educating the public about its benefits. In Play: How it Shapes
the Brain, Opens the Imagination and Invigorates the Soul, he states that “the ability to play is
critical not only to being happy, but also to sustaining social relationships and being a creative,
innovative person.” Our Makerspace is a place where students cultivate play, where they
bridge the gap between the oftentimes abstract world of traditional education and the more
pragmatic, hands-on, intrinsically rewarding world of invention and innovation. Students draw upon knowledge gleaned from multiple disciplines through the process of creation, and will
become risk-taking, problem-solving, self-assessing, self-confident and efficacious agents for
change in their own lives and in the community at large.
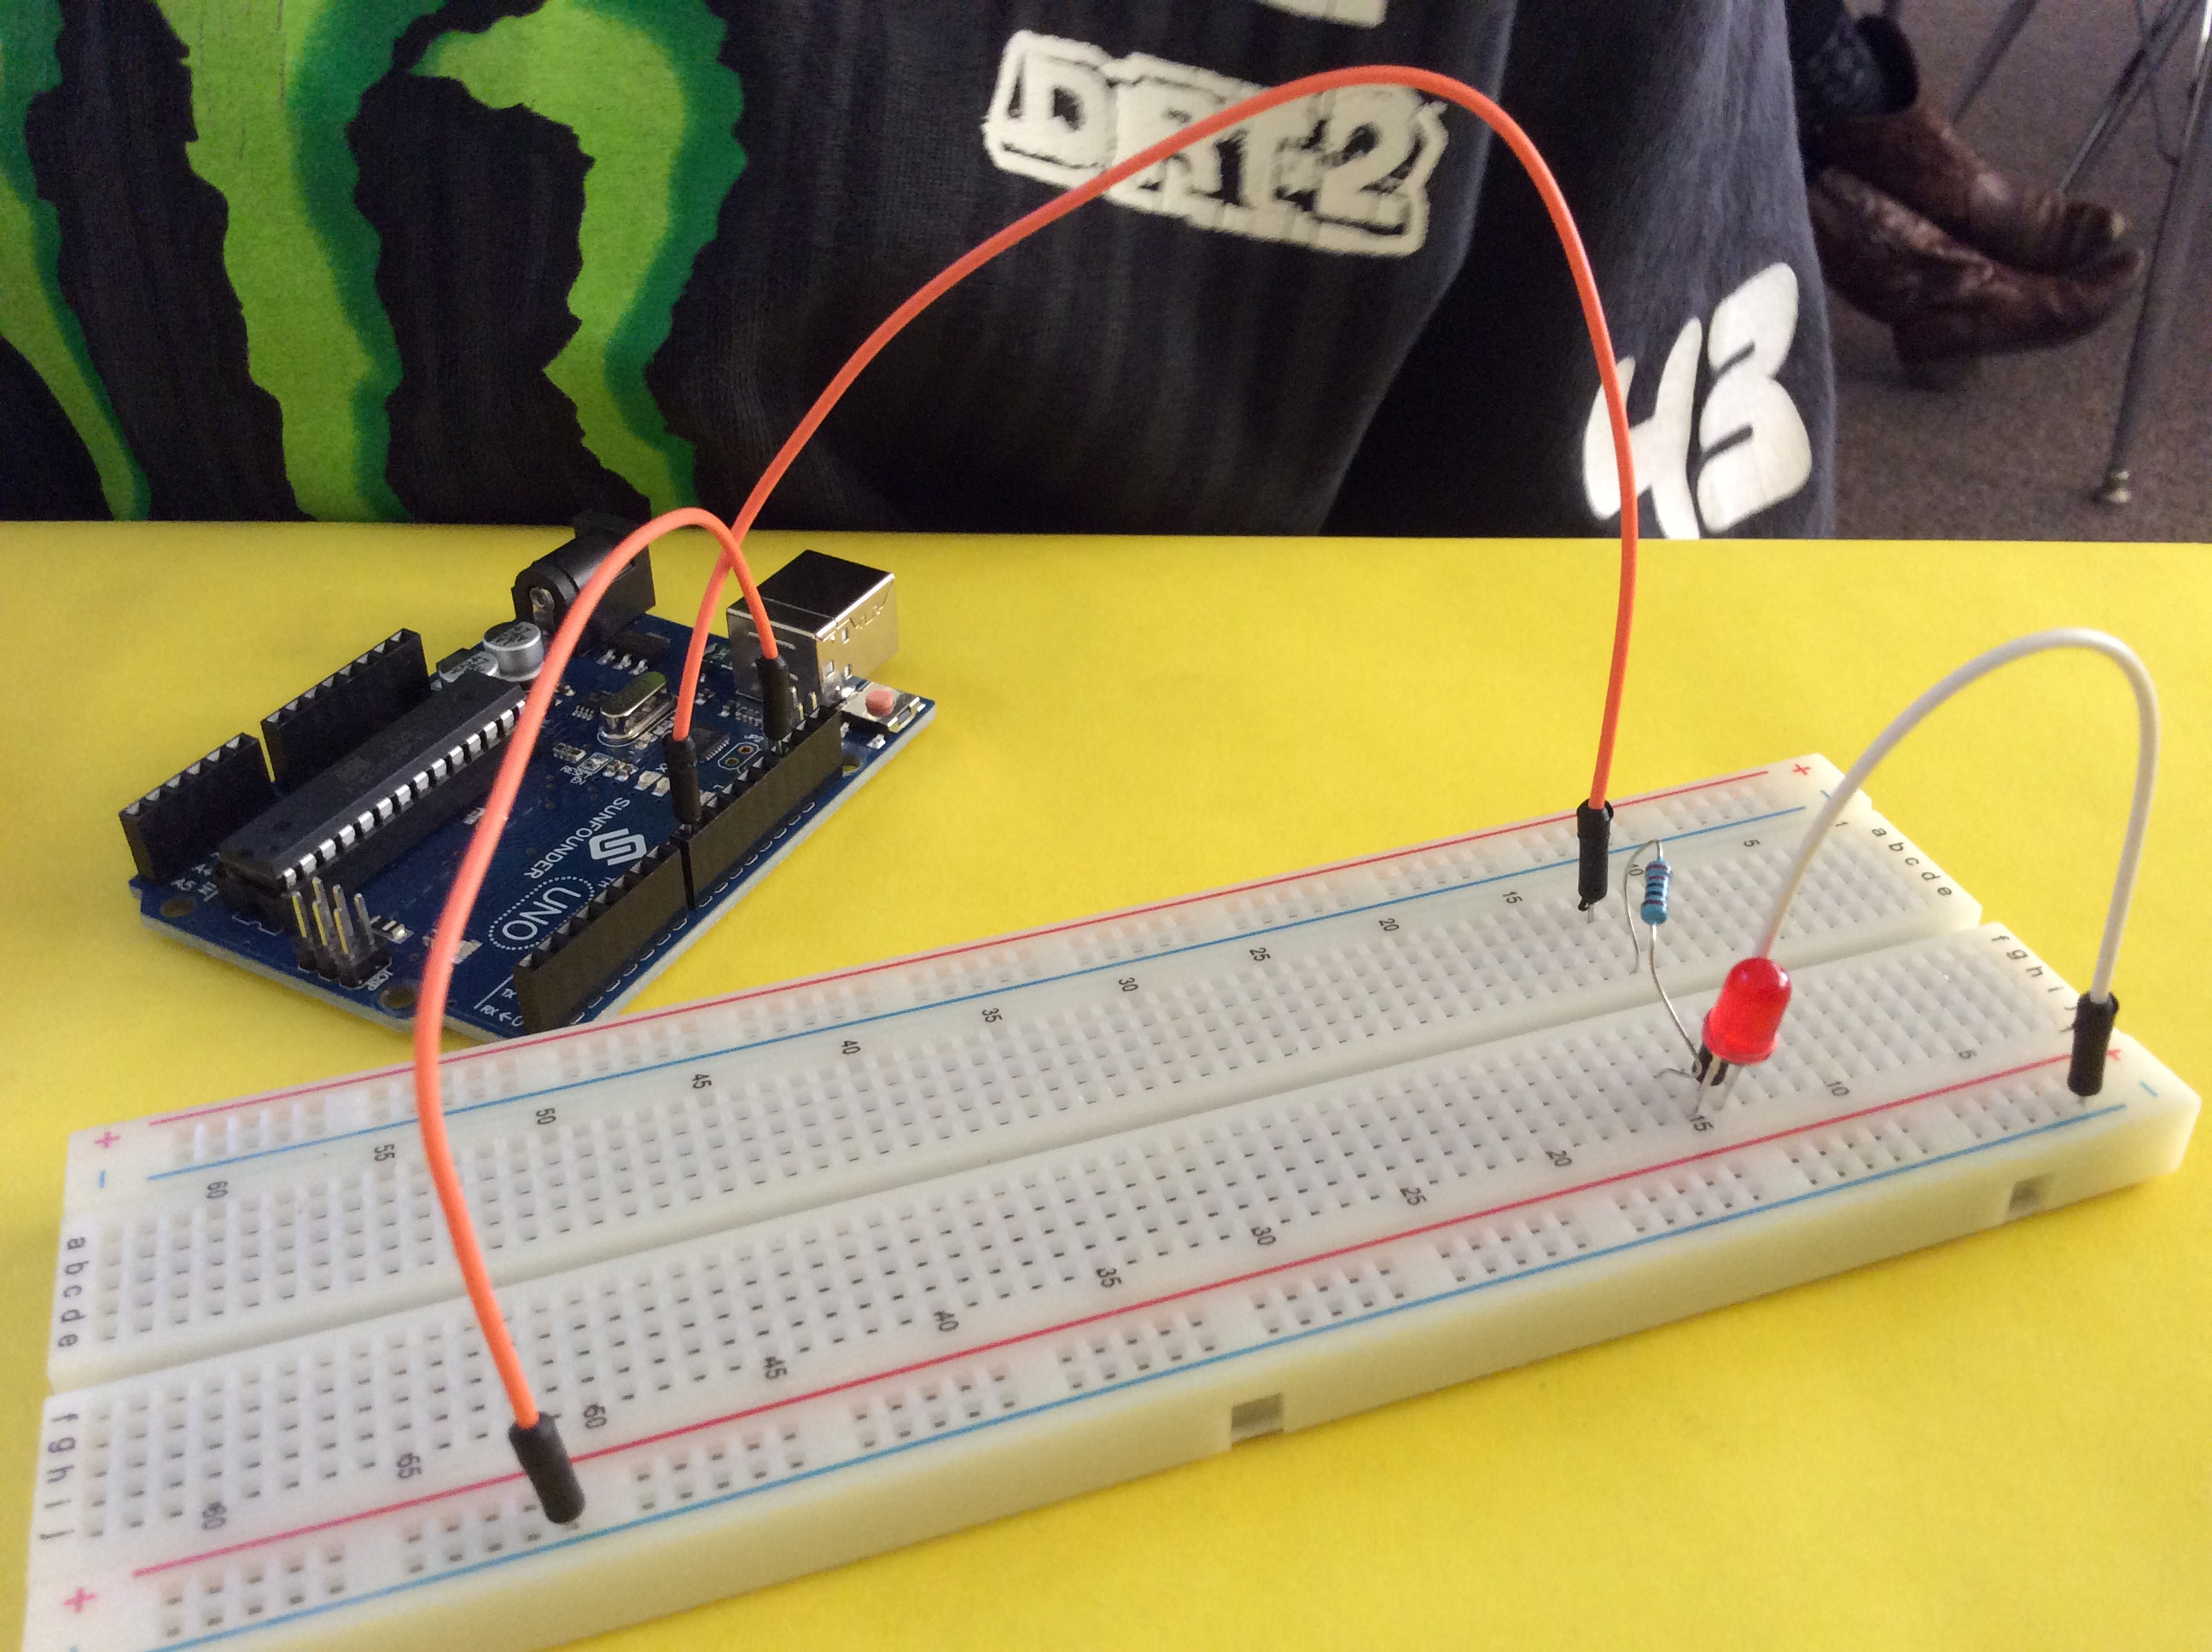
A successful circuit!
Here, you might find our lower grade students creating their own circuits using various Snap Circuits kits. For our upper grade students, you might find them not only building their circuits on a breadboard using real electrical components, but also programming an Arduino microcontroller to give their creations some direction - perhaps making a series of LEDs blink in a particular pattern.
Students of all ages are encouraged to use our collection of Makey Makeys to connect the physical world to the computer in order to experiment with the conductivity of various materials. Some of our favorites have been Play-Doh game controllers and banana pianos.
We are also very proud to be introducing our students to the exciting world of 3D printing, from computer aided design (CAD) principles using SketchUp Make to slicing and printing their creations.
An ATLAS 4th grader displays the snowflake he designed and printed
Sample Lessons and Brief Descriptions
(Click here for a differentiated break down by grade level...in progress)
1. Intro to Circuits; K-5. Students will learn what circuits are, how electricity flows "like water" through conductive materials, and will use components from Snap Circuits kits to create simple circuits to run lights and motors. 45 minutes to 1 hour total lab time, preassessment and post assessment can be done in class.
2. Cardboard Instruments with Makey Makey; K-5. Students will create a physical "instrument" using cardboard and foil. They will connect it to the Makey Makey and use a computer to program their instrument to make sounds (or control a game). Best done in 2 sessions over 2 or 3 days, 45 minutes to introduce the project and make an instrument, another 45 to 1 hour to program the sounds and test it out.
3. Any of the Code.org unplugged lessons
4. Arduino basics - LEDs; 3-5. (Prerequisite: Intro to Circuits) Students should have already been exposed to what circuits are, so in this series of lessons they will build a simple circuit consisting of an LED and a resistor, connect it to an Arduino and program the LED to blink. They can then spend subsequent lessons expanding the circuit to create a simulated traffic light that blinks in sequence. This may take up to 4 days of 1 hour sessions depending on the grade level and is best completed within a week.
5. Arduino Advanced - Sensors and Inputs; 4-5. (Prerequisite: Arduino Basics) Students will create a series of circuits, one to control input through a potentiometer and the other to control output through an LED or a motor. They will then program the Arduino to read the input from the potentiometer to control brightness of the LED (or the speed of a motor, or the motion/size of a character in a game). This may take up to 4 days of 1 hour sessions depending on the grade level and is best completed within a week.